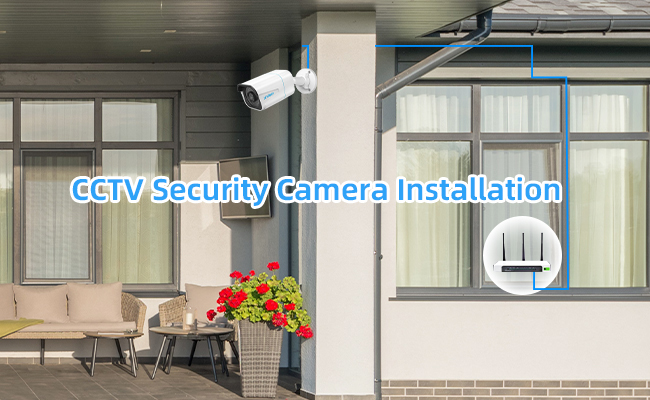
To install a security camera on a brick wall, first, gather the necessary tools and equipment. Then, drill holes into the brick wall using a masonry bit and insert anchors.
Lastly, mount the camera onto the wall using screws and make necessary adjustments for proper positioning. Installing a security camera on a brick wall is a crucial step in enhancing the safety and security of your property. Whether you need to monitor your home, office, or any other space, a well-placed camera can offer valuable surveillance.
However, the installation process can be a bit tricky due to the nature of a brick wall. In this guide, we will provide you with clear and concise instructions on how to effectively install a security camera on a brick wall. By following these steps, you can ensure a sturdy and reliable installation that will provide you with peace of mind knowing that your property is well-protected.
Selecting The Right Security Camera
A security camera can provide much-needed peace of mind by offering surveillance and protection for your property. When installing a security camera on a brick wall, it’s essential to select the right camera for your needs. Several factors should be considered to ensure you make the best choice.
Firstly, understanding the different types of security cameras available is crucial. There are wired and wireless options, dome cameras, bullet cameras, and PTZ (pan-tilt-zoom) cameras. Each type has its advantages and limitations, so it’s important to evaluate your requirements.
Secondly, identifying the features required for your specific needs is crucial. Consider factors such as resolution, night vision capabilities, weatherproofing, and recording options. You may also want to think about the camera’s field of view and any advanced features like motion detection or facial recognition.
By carefully considering these factors, you’ll be able to choose a security camera that suits your specific requirements and ensure a successful installation on a brick wall.
Preparing The Brick Wall For Installation
To install a security camera on a brick wall, it is important to first assess the feasibility of the installation. Gather the necessary tools and materials, including mounting brackets, screws, and a power drill. Evaluate the ideal location for camera placement, considering factors such as visibility, coverage, and accessibility. Choose a spot that allows for a clear line of sight and covers the desired area effectively. Once you have selected the location, prepare the brick wall for installation. Ensure that the wall surface is clean and free from any dust or debris. Use a level to ensure that the camera will be mounted straight. Mark the position for the mounting brackets on the wall, and use a power drill to create pilot holes. Insert anchors into the holes, and then attach the brackets securely to the wall using screws. With the brackets in place, attach the camera to the mounting bracket according to the manufacturer’s instructions. Test the camera to ensure it is functioning properly before finalizing the installation. Regularly clean and maintain the camera to ensure optimal performance and longevity.
Drilling Holes In The Brick Wall
When it comes to installing a security camera on a brick wall, drilling holes is a crucial step. Before starting the drilling process, it’s important to understand the structural integrity of the brick wall to ensure it can withstand the weight of the camera. Choosing the appropriate drill and drill bit is also essential to prevent any damage to the bricks.
Step-by-step guide to drilling holes in the brick:
- Firstly, mark the desired location on the wall where you want to install the camera.
- Next, check the surrounding area for any electrical wires or plumbing pipes that may interfere with the drilling process. It’s important to avoid drilling into these areas.
- Now, attach the appropriate masonry drill bit to your drill. A carbide-tipped bit is typically recommended for drilling into brick walls.
- Before starting to drill, ensure that your drill is set to a low speed and use a hammer mode if available. This will help penetrate the brick more effectively.
- Start drilling the hole slowly and steadily, applying gentle pressure. It’s important to maintain a straight angle while drilling to prevent any damage to the bricks.
- Once the hole is drilled to the desired depth, remove the drill bit and clean out any debris from the hole.
- Repeat the above steps for each hole required for installing the security camera.
By following these steps, you can successfully drill holes in a brick wall for installing a security camera and ensure its stability and functionality.
Mounting And Securing The Camera
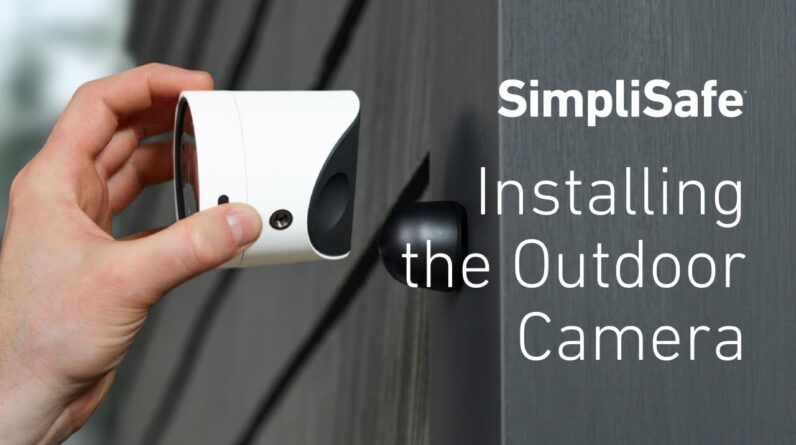
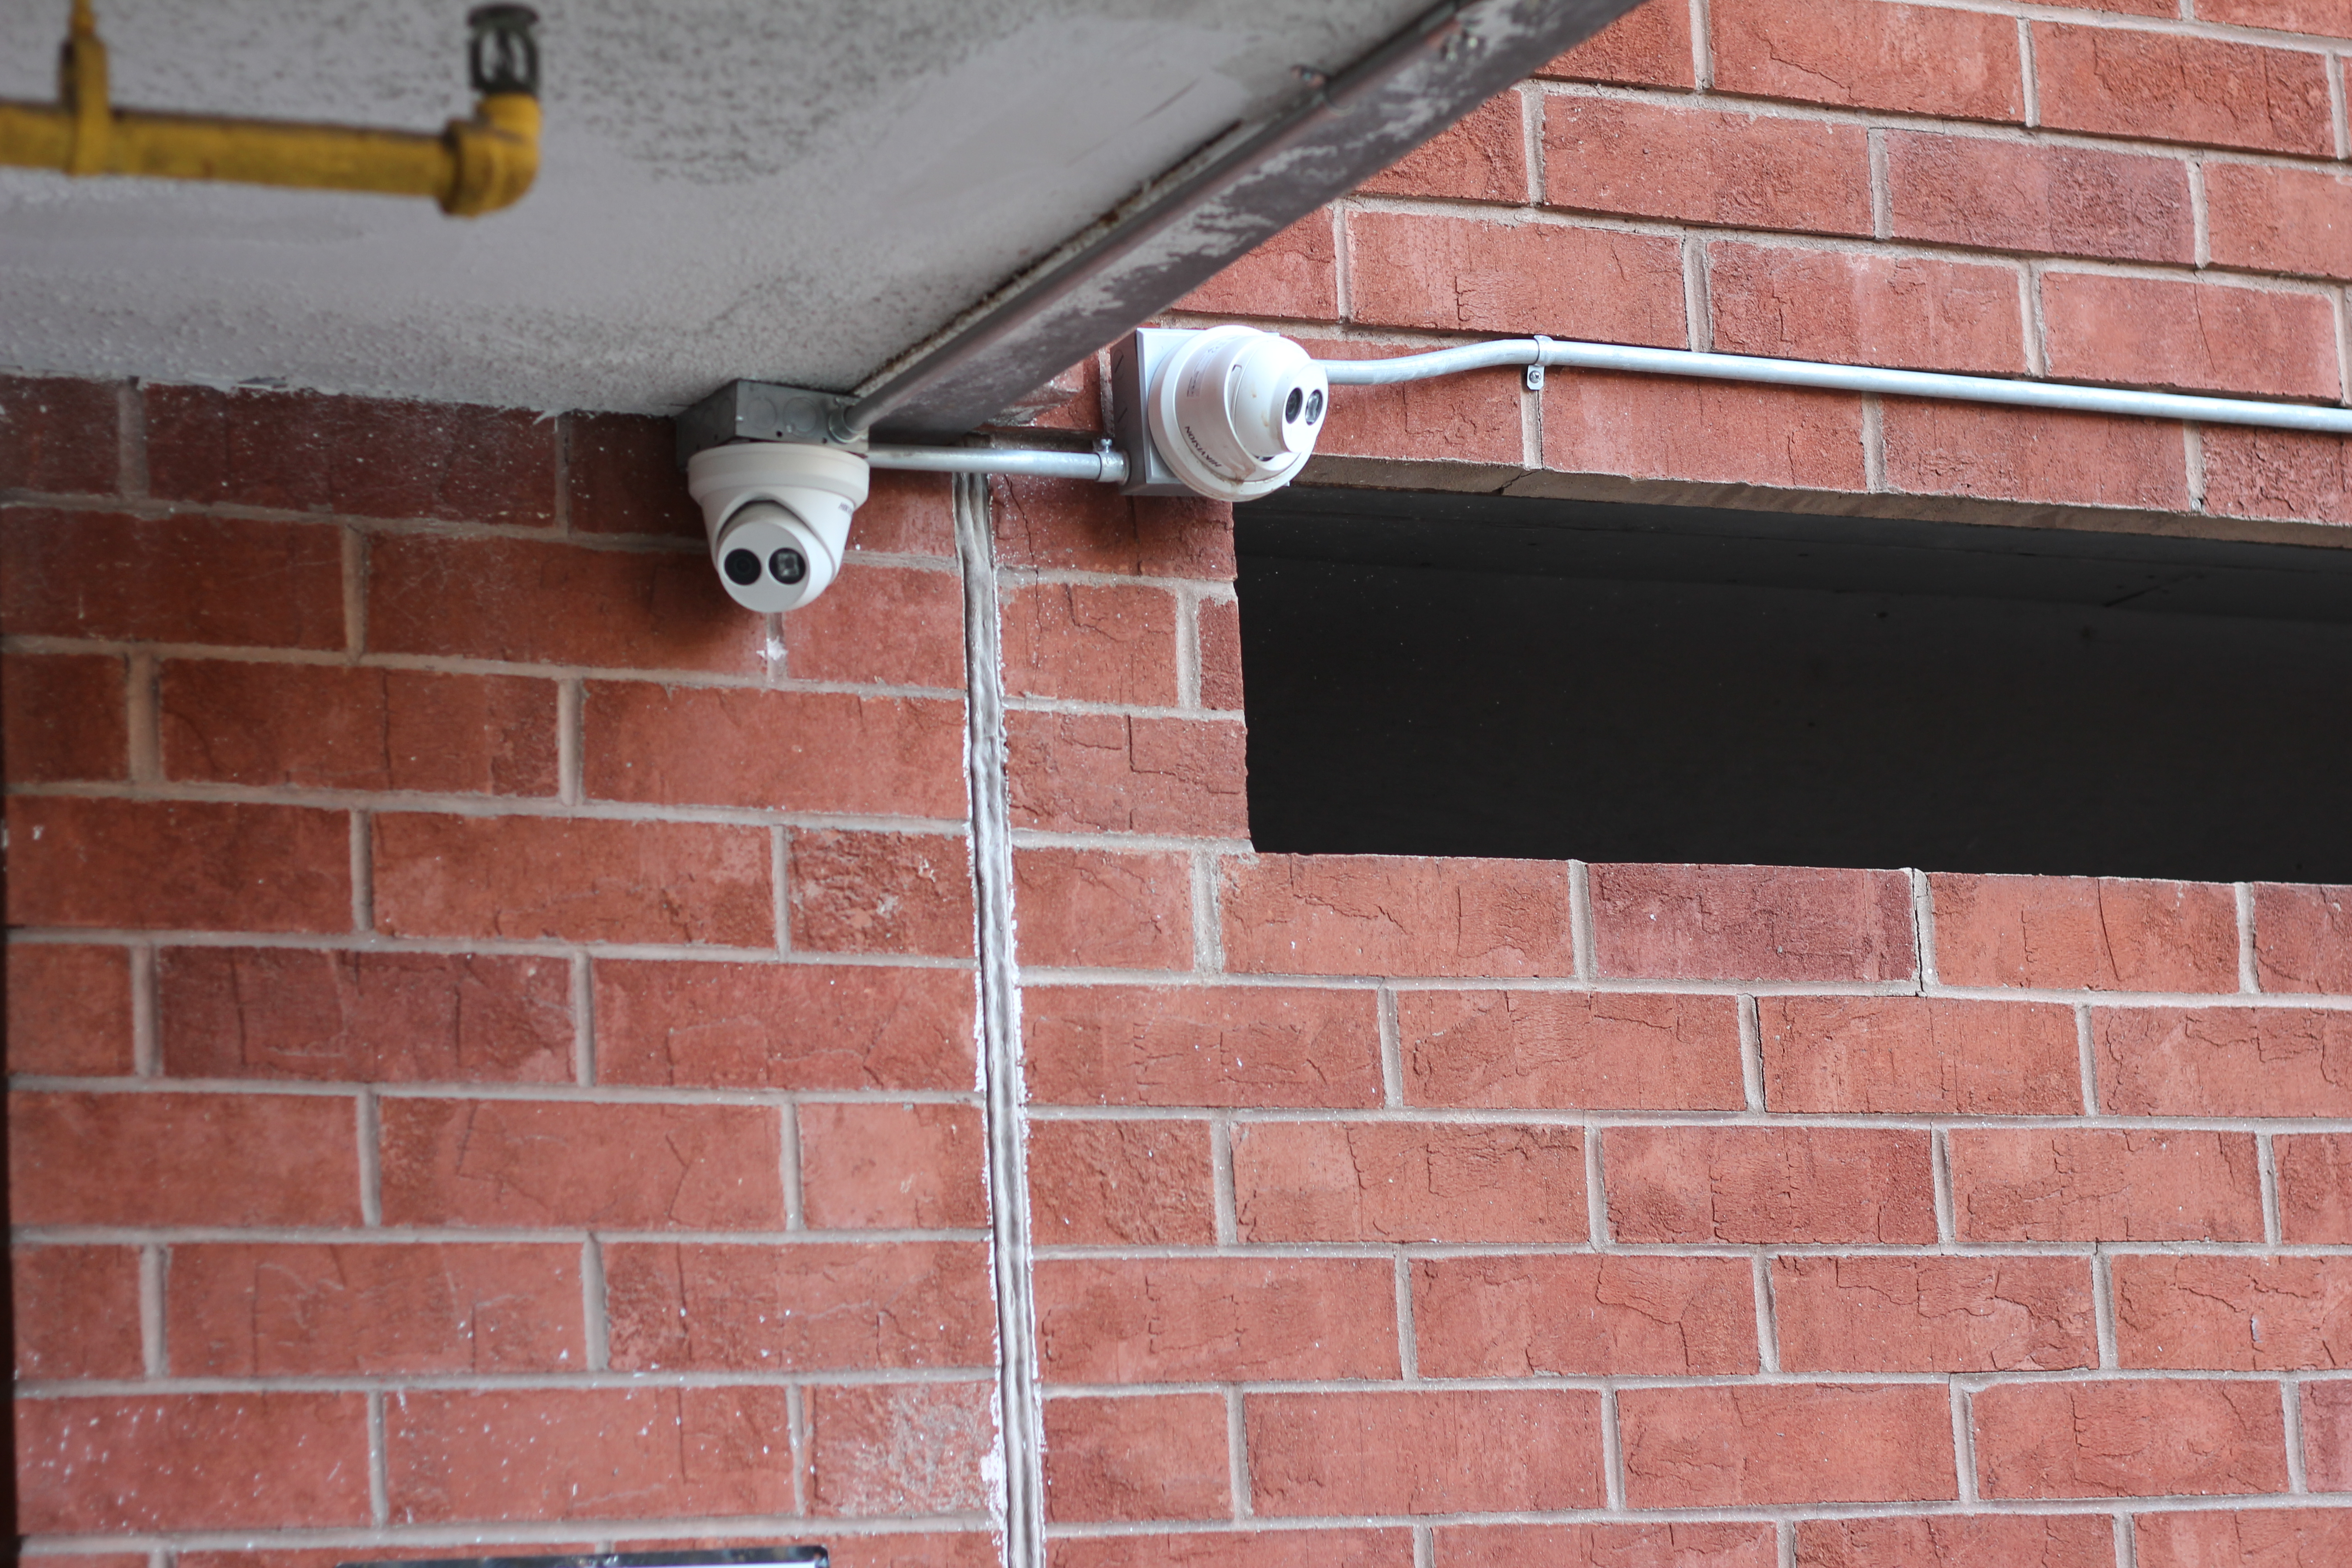
When installing a security camera on a brick wall, it is important to select the appropriate mounting bracket that is compatible with both the camera and the wall surface. The mounting bracket should be sturdy and provide a secure hold. Once the bracket is selected, align the camera with the drilled holes on the bracket and make sure it is level. This will ensure proper positioning and field of view for the camera. After aligning, use screws or anchor bolts to secure the camera to the brick wall. Be sure to tighten the screws or bolts firmly, but avoid over-tightening as it may damage the camera or the wall. Regularly check the camera’s position and tighten the screws if any adjustments are needed. By following these steps, you can install a security camera on a brick wall effectively and securely.
Wiring And Connection Setup
When installing a security camera on a brick wall, the wiring and connection setup is an important aspect to consider. To start, prepare all the necessary cables required for the installation. These typically include the power cable, video cable, and ethernet cable.
Once you have the cables ready, you’ll need to run them through the drilled holes on the brick wall. Make sure to drill the holes in strategic locations to ensure the camera is properly positioned for optimal surveillance.
After running the cables, it’s time to connect the camera to the power source and the recording device. This can be done by plugging the power cable into a nearby power outlet or using a power adapter if required. The video cable can be connected to the recording device, such as a DVR or NVR, to enable video playback and storage.
By following these steps, you can successfully install a security camera on a brick wall and ensure seamless connectivity for monitoring and recording purposes.
Credit: www.digitaljournal.com
Adjusting Camera Angles And Settings
Installing a security camera on a brick wall requires proper adjustment of camera angles and settings to ensure optimal coverage and performance. When installing the camera, it is essential to align it correctly for maximum coverage. This involves considering specific needs such as the area to be monitored and potential blind spots. Fine-tuning the camera angles can help eliminate any obstacles that may obstruct the view.
Additionally, configuring the camera settings is crucial for optimal performance. Adjusting settings such as resolution, frame rate, and motion detection sensitivity can enhance the camera’s functionality. These settings should be tailored to suit the specific environment and surveillance requirements. Through careful alignment and configuration of the camera, you can ensure reliable surveillance and effective security measures for your property.
Testing And Troubleshooting
Conducting a test run before finalizing the installation is crucial to ensure that the security camera is functioning properly. Start by checking the camera’s power supply and connections. Make sure that all cables are securely attached and that the camera is receiving power. Check the camera’s field of view to ensure it covers the desired area. Adjust the camera’s focus and angle for optimal positioning.
After completing the installation, it’s important to verify that the camera is capturing clear and crisp footage. Take some time to review the camera’s video quality and resolution. If the footage appears blurry or pixelated, try adjusting the camera’s focus or positioning to improve the clarity. Additionally, ensure that there are no obstructions or light reflections affecting the camera’s view. Troubleshoot any issues by referring to the camera’s user manual or contacting the manufacturer for further assistance.
Additional Tips And Considerations
- Maintaining and Upkeeping the Security Camera:
- Regularly check the camera for any physical damage or loose connections.
- Keep the camera lenses clean and free from obstructions to ensure clear footage.
- Inspect the wiring periodically, especially if there are exposed cables.
- Integrating the Camera with Existing Security Systems:
- Ensure compatibility between the camera and the existing security system.
- Connect the camera to the system using the appropriate cables or wireless technology.
- Configure the camera settings to work seamlessly with the existing security system.
- Complying with Privacy Laws and Regulations:
- Familiarize yourself with local privacy laws and regulations regarding security cameras.
- Ensure the camera placement respects privacy and does not invade private spaces.
- Consider posting visible signage to inform individuals about the presence of surveillance.
Frequently Asked Questions For How To Install Security Camera On Brick Wall
How To Choose The Right Security Camera For A Brick Wall?
To choose the right security camera for a brick wall, consider factors such as weather resistance, mounting options, and the camera’s resolution and field of view. Look for cameras specifically designed for outdoor use and have features like night vision and motion detection.
What Tools Are Needed To Install A Security Camera On A Brick Wall?
To install a security camera on a brick wall, you will need a power drill, masonry drill bits, wall plugs, screws, and a screwdriver. It’s essential to use the right drill bit and wall plugs for the size and type of brick you’re working with to ensure a secure installation.
Is It Possible To Install A Security Camera On A Brick Wall Without Drilling?
Yes, it is possible to install a security camera on a brick wall without drilling by using alternative mounting methods. Some options include using adhesive-based mounting brackets or utilizing wire clips and cable straps to secure the camera’s cables and wires to the brick surface.
However, drilling provides a more secure and permanent installation.
Conclusion
Installing a security camera on a brick wall can seem like a daunting task, but with the right tools and techniques, it can be accomplished successfully. By following the step-by-step guide provided in this blog post, you can ensure that your security camera is securely mounted and positioned for maximum effectiveness.
Remember to consider factors such as height, angle, and weatherproofing to optimize the camera’s performance and protect your property. With these tips, you can achieve peace of mind and enhance your home or business security.

