To install a ceiling access panel, first, choose a suitable location on the ceiling. Next, mark and cut an opening according to the panel dimensions.
Lastly, secure the access panel in place using screws or adhesives. Now you can easily access the ceiling space as needed.
Choosing The Right Access Panel
When installing a ceiling access panel, it is crucial to choose the right option based on the type of ceiling and its location. Firstly, you need to measure the size and shape required for the panel installation. This can be done by accurately determining the dimensions of the opening. Secondly, the selection of the access panel material and its features is essential. Depending on the specific needs and preferences, you can choose from a variety of materials such as plastic, metal, or fire-rated options. Consider features like locks, insulation, and moisture resistance based on the location of the access panel installation. Properly choosing the right access panel ensures a seamless installation and convenient access for future maintenance or repairs.
Gathering The Necessary Tools And Materials
In order to install a ceiling access panel, it is important to gather the necessary tools and materials beforehand. The following is a list of required tools:
| 1. Screwdriver | 6. Measuring tape |
| 2. Drill | 7. Pencil |
| 3. Saw | 8. Safety goggles |
| 4. Level | 9. Dust mask |
| 5. Utility knife | 10. Safety gloves |
In addition to the tools, determining the necessary materials is crucial for a successful installation. These may include:
- Drywall panel
- Wood screws
- Sanding paper
- Joint compound
- Paint
Depending on the specific installation, additional safety equipment such as safety goggles, dust masks, and safety gloves may also be required. It is essential to have all the tools and materials prepared before starting the installation process.
Preparing The Ceiling Area
Clearing the workspace: Before starting the installation process, it is essential to clear the workspace to ensure a smooth and efficient installation. Remove any furniture, fixtures, or objects that may obstruct the work area. This will provide ample space for maneuvering and prevent any potential damage to the items or the access panel during installation. Additionally, make sure to cover any valuables or delicate surfaces to protect them from dust or debris that may arise during the process.
Assessing the accessibility of the ceiling area: Once the workspace is cleared, it is important to assess the accessibility of the ceiling area. Determine if there are any structural or design considerations that may impact the installation process. Take note of any electrical wires, plumbing fixtures, or other installations that may be hidden within the ceiling. This will help determine the best location for the access panel installation and ensure proper functionality.
Removing any obstacles or obstructions: Before proceeding with the installation, it is crucial to remove any obstacles or obstructions that may hinder the process. This includes removing ceiling tiles, panels, or any other materials that may be in the way. Carefully remove these items to avoid causing unnecessary damage and allow for a seamless installation of the access panel.
Marking And Measuring
One of the important steps in installing a ceiling access panel is locating the desired position for it. To ensure accuracy, it is crucial to measure and mark the dimensions on the ceiling. Here’s how you can do it:
- Locating the desired position for the access panel: Decide where you want the access panel to be installed. Consider factors such as convenience and accessibility.
- Measuring and marking the dimensions on the ceiling: Use a measuring tape to determine the size of the access panel. Measure and mark the dimensions accurately on the ceiling, ensuring that the markings are level and aligned with the space you have identified.
- Ensuring accuracy and levelness of the markings: Check the accuracy of your markings using a level or a straight edge. It is essential to ensure that the panel will be installed evenly and securely.
Cutting The Ceiling
When installing a ceiling access panel, it’s essential to cut the ceiling accurately to ensure a seamless installation. To achieve this, the appropriate cutting method must be chosen. Consider the nature of the ceiling material and the access panel’s specifications when making this decision.
Once the cutting method is determined, adjust the cutting tools accordingly to achieve precision in the process. Ensuring that the cutting tools are in optimal condition and properly calibrated will help minimize errors and achieve clean, precise cuts.
While cutting along the marked lines, it’s important to prioritize safety. Take necessary precautions such as wearing protective goggles and gloves to avoid any accidents or injuries during the cutting process.
Installing The Access Panel
When installing a ceiling access panel, it is important to ensure proper alignment and fit. This ensures that the panel fits seamlessly with the surrounding ceiling and looks visually appealing. To achieve this, measure the opening carefully and choose a panel that matches the dimensions. Take note of any obstructions such as wires or pipes that may require adjustments to the opening size.
Once you have selected the right panel, secure it in place using the provided screws or mounting brackets. Make sure to align it properly and tighten the screws evenly for a secure fit. Test the panel by opening and closing it to check for smooth functionality.
Additionally, check for stability by gently pushing on the panel to ensure it doesn’t shift or come loose. If you find any issues with alignment, fit, stability, or functionality, make the necessary adjustments before completing the installation.
Finishing Touches
When installing a ceiling access panel, it is crucial to pay attention to the finishing touches. One important step is patching any holes or imperfections. Carefully fill in any gaps or cracks with a suitable patching compound, ensuring a smooth and even surface. Once the patched area is dry, sand and smooth it using fine-grit sandpaper. This will help create a seamless transition between the panel and the ceiling. Finally, to achieve a professional look, paint or finish the access panel to match the surrounding ceiling. Take care to blend the paint or finish seamlessly, ensuring that the panel becomes virtually indistinguishable from the rest of the ceiling.
Tips For Maintenance And Safety
Regularly inspecting the ceiling access panel for damage or wear is essential to ensure its proper functioning and longevity. Look for any cracks, dents, or rust that can compromise its structural integrity. It is advisable to keep the area surrounding the access panel clean and dust-free to prevent debris from infiltrating the mechanism and affecting its performance. This can be achieved by regularly dusting and vacuuming the area. Taking necessary precautions during future maintenance tasks is crucial for safety. Follow the manufacturer’s instructions and use appropriate tools and techniques to avoid accidents or damage. Handle the access panel with care and avoid putting excessive weight or pressure on it. With regular inspection, cleanliness, and safe maintenance practices, you can ensure that your ceiling access panel remains in good working condition for a long time.
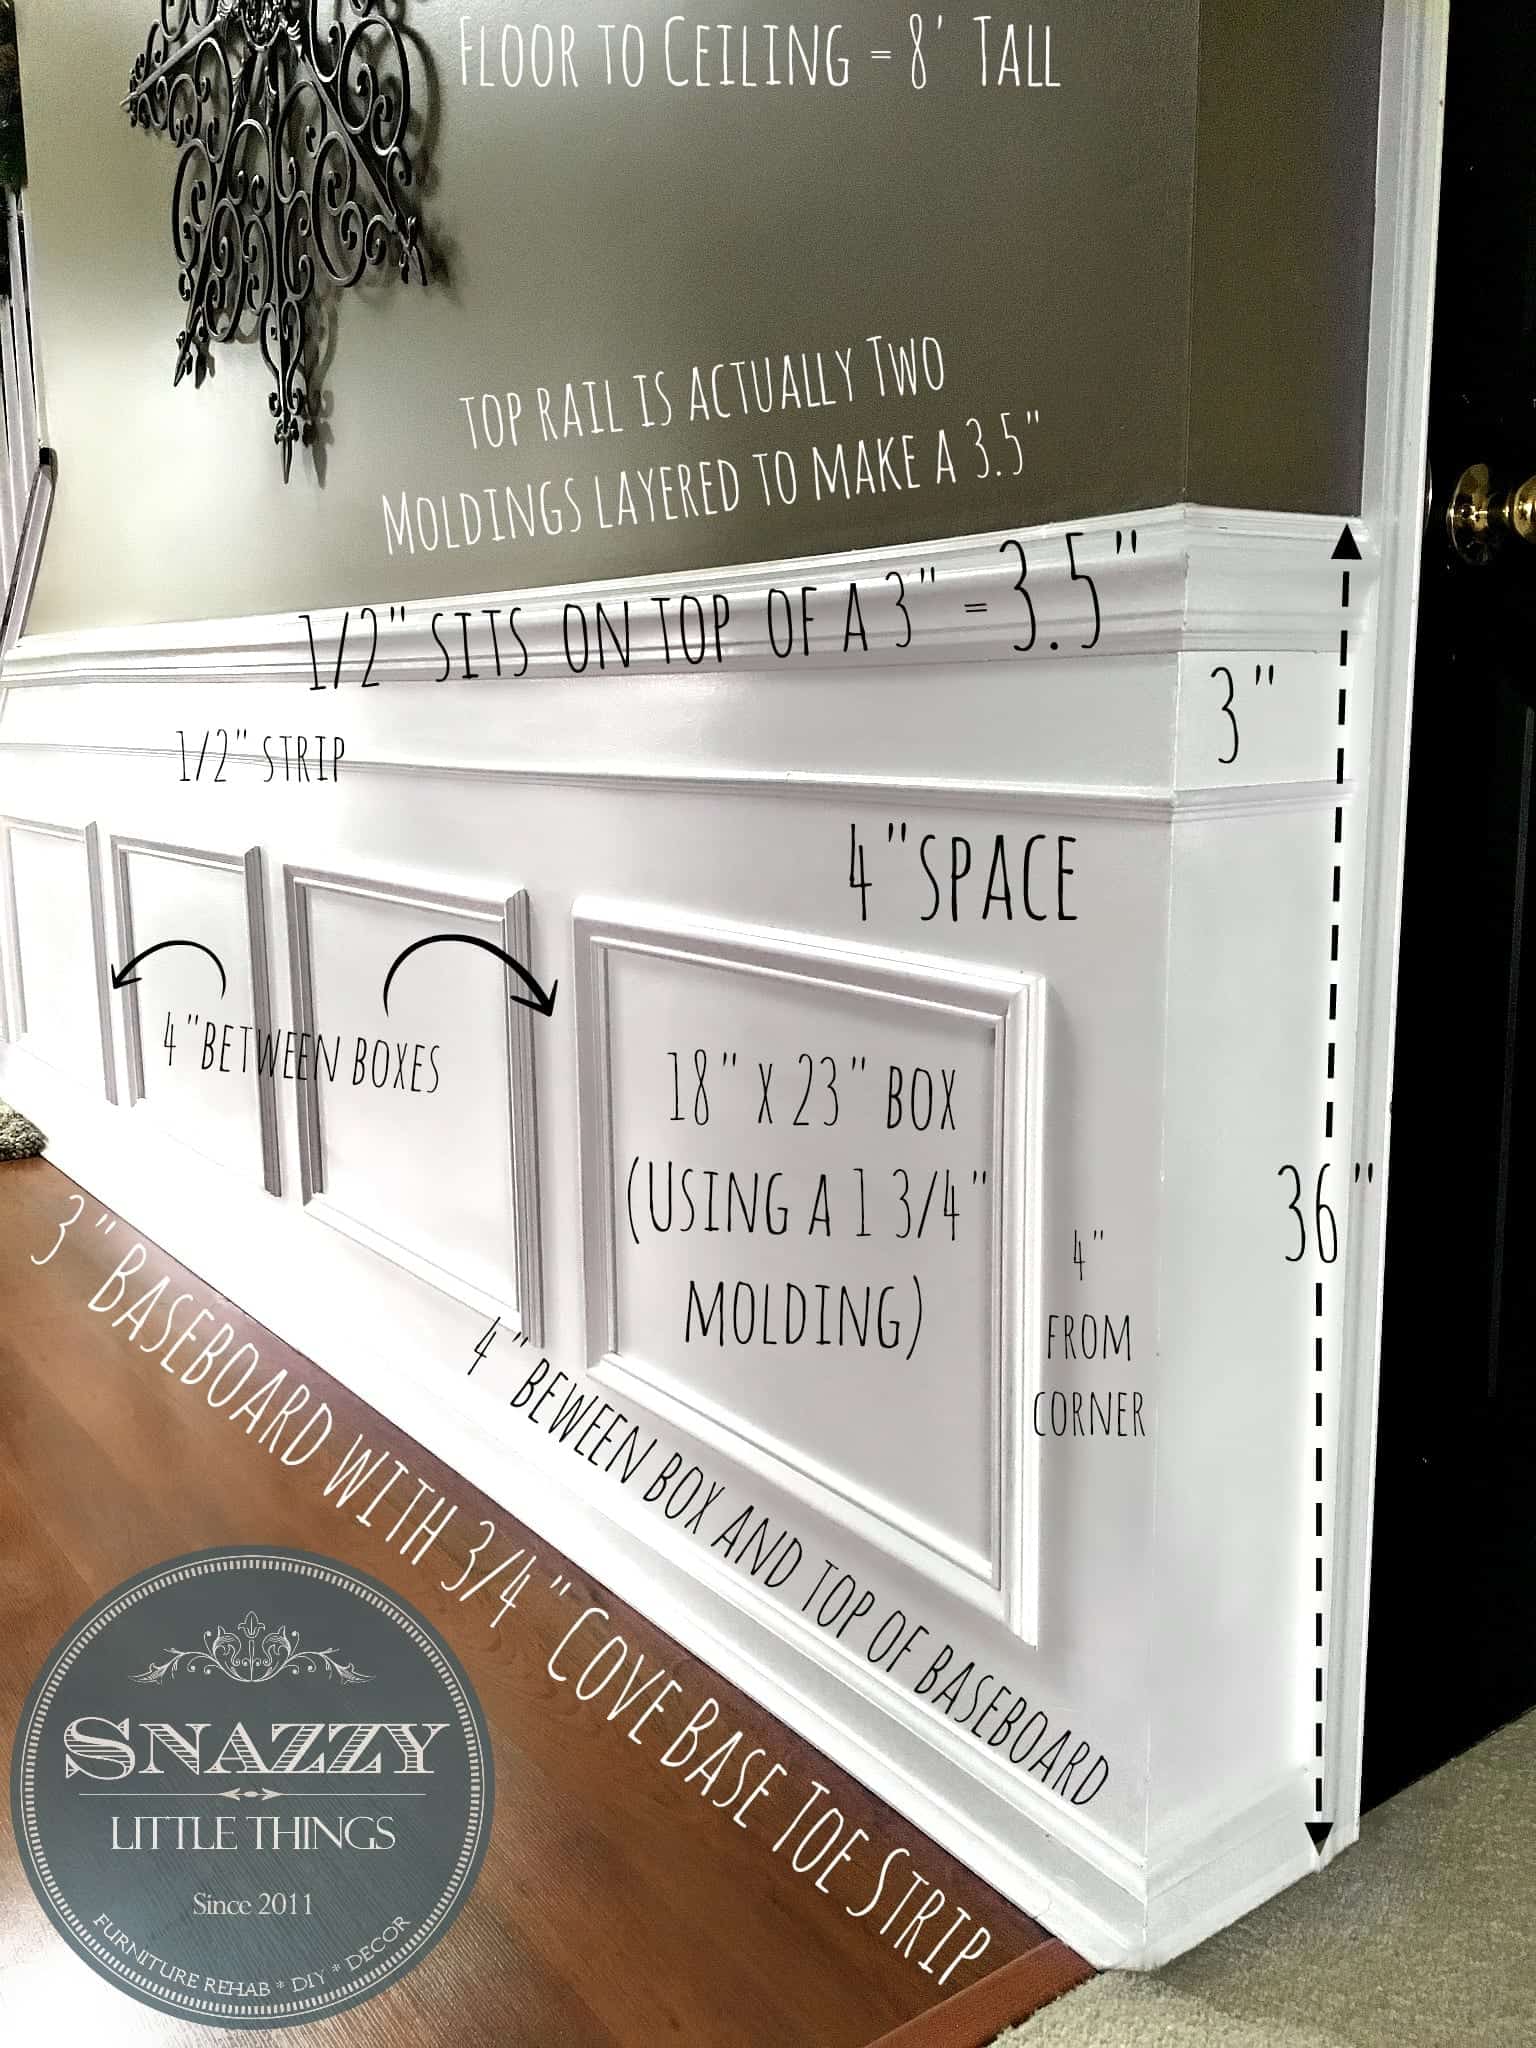
Credit: www.snazzylittlethings.com
Frequently Asked Questions For How To Install Ceiling Access Panel
How Do I Choose The Right Size Ceiling Access Panel?
To choose the right size ceiling access panel, measure the dimensions of the opening in your ceiling. Match these measurements to the available panel sizes, ensuring a snug fit. Consider any future maintenance needs when selecting the size to ensure easy access.
What Materials Are Used To Make Ceiling Access Panels?
Ceiling access panels can be made from various materials, including metal, plastic, and gypsum. Metal panels offer durability and security, while plastic panels are lightweight and versatile. Gypsum panels are often used in residential settings due to their affordability and easy installation.
How Should I Prepare My Ceiling Before Installing An Access Panel?
Before installing a ceiling access panel, ensure the area is clean and free from debris. Mark the exact location where the panel will be installed. If necessary, use a stud finder to locate any ceiling joists and avoid them during installation.
Take safety precautions, such as turning off electricity to the area if needed.
Conclusion
Installing a ceiling access panel is a simple yet crucial task that can provide easy access to utility connections and maintenance areas. By following the step-by-step instructions outlined in this blog post, you can confidently and efficiently install a ceiling access panel in your home or office.
Remember, proper installation ensures convenience and functionality in the long run. So, equip yourself with the necessary tools and knowledge, and embark on this DIY project with confidence. Take control of your space and enjoy the benefits of a well-placed ceiling access panel.

