
To install a 240V outlet for your Tesla, you need to hire a licensed electrician who will handle the electrical wiring and ensure safety standards are met. This professional will also determine the appropriate circuit size and install the necessary breaker and outlet to match your Tesla’s charging requirements.
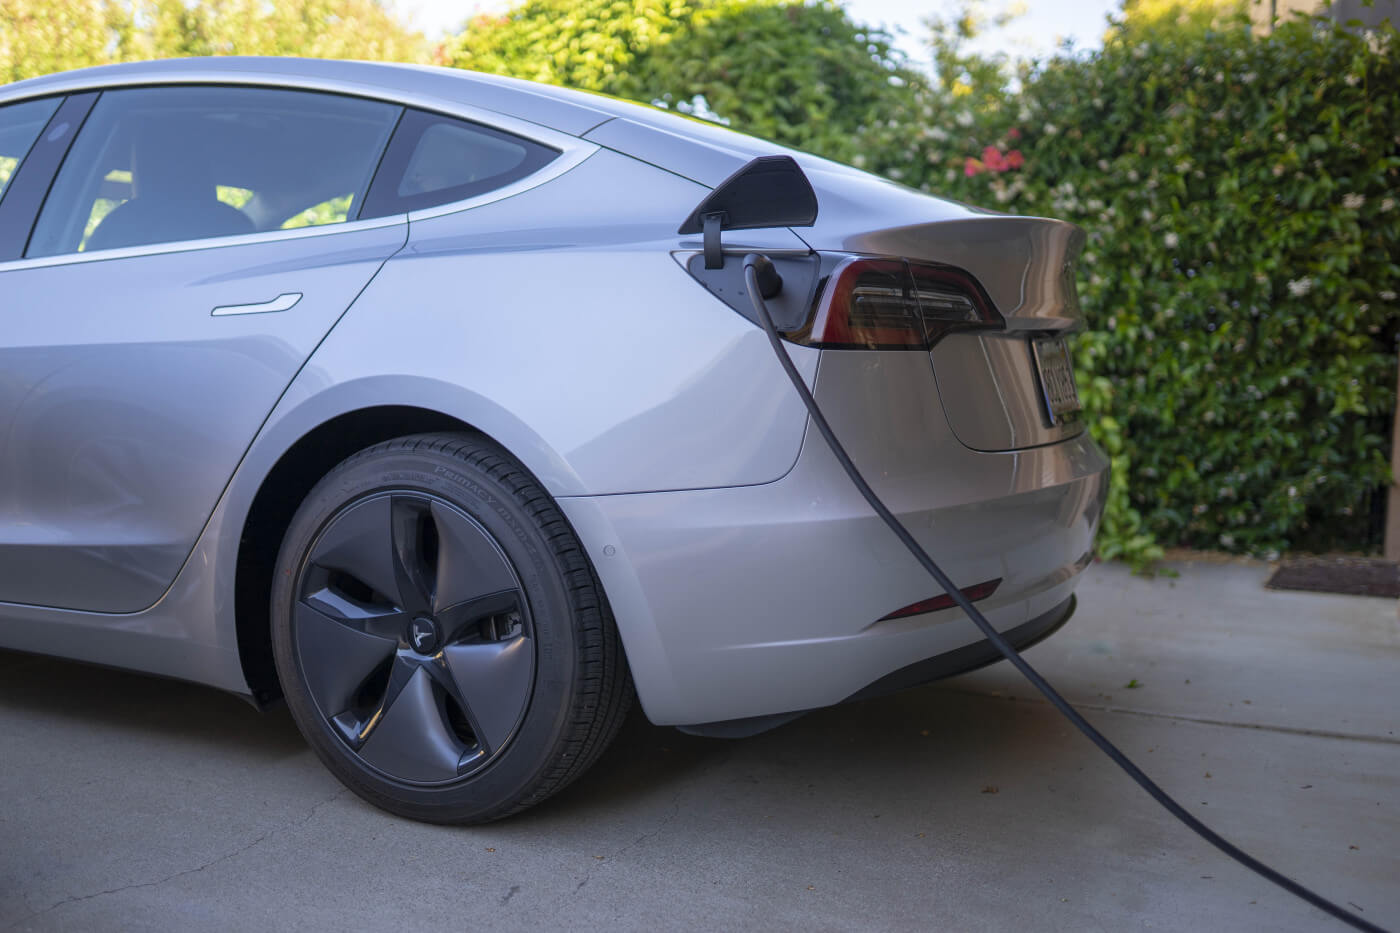
Installing a 240V outlet allows for faster charging, reducing the charging time for your Tesla and enhancing convenience.
Determining The Ideal Charging Solution
Installing a 240V outlet for your Tesla is a crucial step in ensuring efficient and convenient charging. To determine the ideal charging solution, you need to consider various factors. Firstly, familiarize yourself with your vehicle’s charging requirements. Tesla provides specific information on recommended charging options, including the use of a NEMA 14-50 outlet.
Next, analyze your home’s electrical system. Begin by understanding the capacity of your electrical panel. Check whether it has the capacity to support an additional high-powered circuit for the outlet. If not, you may need to upgrade your electrical panel to increase its capacity.
After determining the electrical panel capacity, calculate the charging time needed. This calculation depends on factors such as the battery size of your Tesla and the amperage of the outlet you plan to install. With the help of formulas or online calculators, you can estimate the time required for a full charge.
By following these steps and considering these important factors, you can successfully install a 240V outlet for your Tesla and enjoy efficient and convenient charging at home.
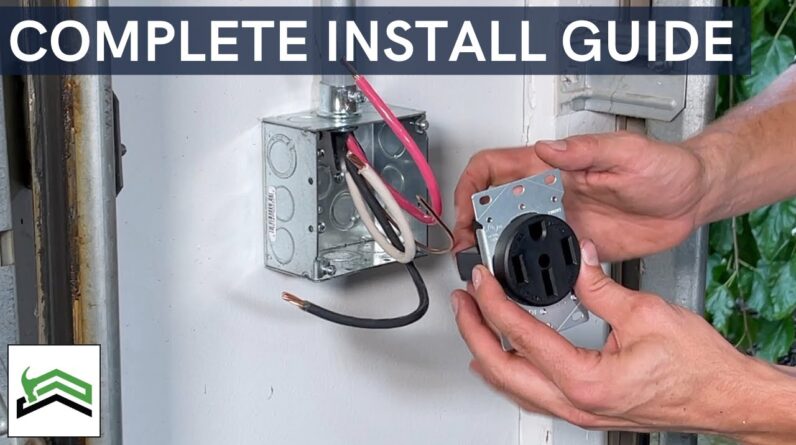
Step-by-step Guide To Installing A 240v Outlet
Understanding the basics of 240V outlets: A 240V outlet is a high-voltage outlet commonly used for heavy-duty appliances like electric dryers and electric vehicles, such as Tesla. It differs from a standard 120V outlet by providing double the voltage, allowing for faster and more efficient charging.
Safety precautions before starting the installation: Prior to installing a 240V outlet, safety precautions should be taken. Begin by turning off the electrical supply to ensure no electricity is flowing. Additionally, it’s important to use proper protective gear, such as gloves and safety goggles, to protect against electrical shock.
Tools and materials needed: To install a 240V outlet, you’ll need a few tools and materials, including wire cutters, wire strippers, a voltage tester, a multimeter, a 240V outlet, electrical tape, and appropriate wiring for the installation.
Preparing the electrical panel for the installation: Begin by identifying the appropriate circuit breaker that corresponds to the designated circuit for the 240V outlet. Once identified, shut off the power to that circuit before proceeding.
Wiring the 240V outlet: When wiring the outlet, it’s crucial to select the correct wire gauge to handle the electrical load. Connect the wires to the outlet according to the manufacturer’s instructions, ensuring proper polarity and secure connections. Properly grounding the outlet is also essential for safety.
Testing the newly installed outlet: After the installation is complete, use a multimeter to test the voltage and continuity of the outlet. Verify that the outlet is functioning correctly and delivering the expected 240V power.
By following these step-by-step instructions, you can successfully install a 240V outlet for your Tesla or other high-voltage appliances.
Assessing The Need For An Electrical Service Upgrade
In order to install a 240V outlet for your Tesla, it is important to assess the need for an electrical service upgrade. You must start by understanding the electrical capacity of your home. This involves determining the current load on the electrical panel and evaluating the available service size. Based on these factors, you can then decide on the suitable electrical service size for your needs.
It is highly recommended to consult an electrician for professional guidance. They can provide expert advice on the electrical service upgrade. There are several factors to consider when upgrading the electrical system, such as hiring a licensed electrician, researching qualified electricians, and obtaining multiple quotes for comparison.
The actual electrical service upgrade involves replacing the electrical panel and connecting the upgraded electrical service to the grid. With the help of a qualified electrician, you can ensure a safe and efficient installation of the 240V outlet for your Tesla.
Credit: getneocharge.com
Frequently Asked Questions For How To Install 240v Outlet For Tesla
How Much Does It Cost To Install A 240v Outlet For A Tesla?
Installing a 240V outlet for your Tesla can cost anywhere from $500 to $1,500, depending on various factors such as the existing electrical infrastructure, distance from the main panel, and labor costs. It is recommended to hire a licensed electrician for a safe and proper installation.
Can I Install A 240v Outlet For My Tesla Myself?
While it is technically possible to install a 240V outlet for your Tesla yourself, it is highly recommended to hire a professional electrician for this task. Working with electricity can be dangerous and requires expertise to ensure proper installation and compliance with local electrical codes.
How Long Does It Take To Install A 240v Outlet For A Tesla?
The time required to install a 240V outlet for a Tesla depends on various factors, including the complexity of the electrical system and the distance between the main panel and the desired outlet location. On average, it can take anywhere from a few hours to a full day to complete the installation.
Is A 240v Outlet Necessary For Charging A Tesla?
While it is possible to charge a Tesla using a standard 120V household outlet, using a 240V outlet is highly recommended. A 240V outlet provides faster charging speeds and can significantly reduce the time required to charge your Tesla, especially for longer trips or when you have limited charging time available.
Conclusion
To successfully set up a 240V outlet for your Tesla, follow the step-by-step guide provided in this blog post. By understanding the necessary components, wiring procedures, and safety precautions, you’ll be able to enjoy faster charging times and a more efficient driving experience.
Remember to consult a licensed electrician if you’re unsure or uncomfortable handling electrical work. With a proper installation, you’ll be ready to hit the road in your Tesla with ease and confidence.


